You've got part of a border that you'd like to use as a frame for a banner or an avatar?
Here's a tutorial to show you how to go about this.
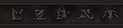
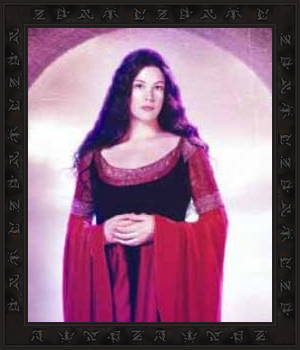
First of all, here's the piece we will be working with.
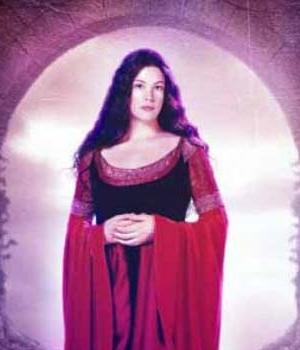
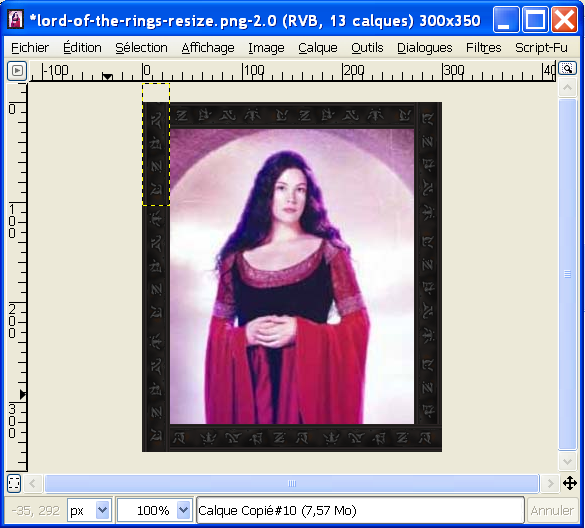
And here's the image we will use after having edited it
Link
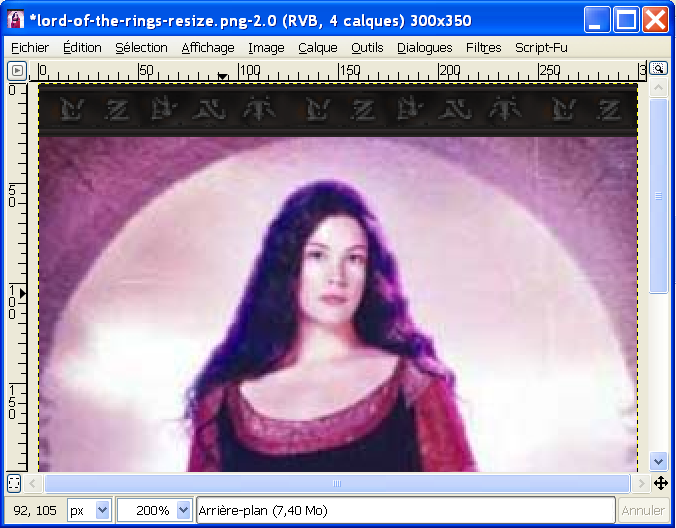
I'll only be keeping the character in the middle.
Cropping the image
Open the Wallpaper, and then go: Image > Canvas Size. Insert the dimensions as well as the offset. Seen as we'll be croping essentially the sides of the image,
make sure that the chains of the right of the dimensions are seperated so as that you can edit the dimensions seperately.
You might need to repeat this a few times to get the right dimensions.
Here's my result:
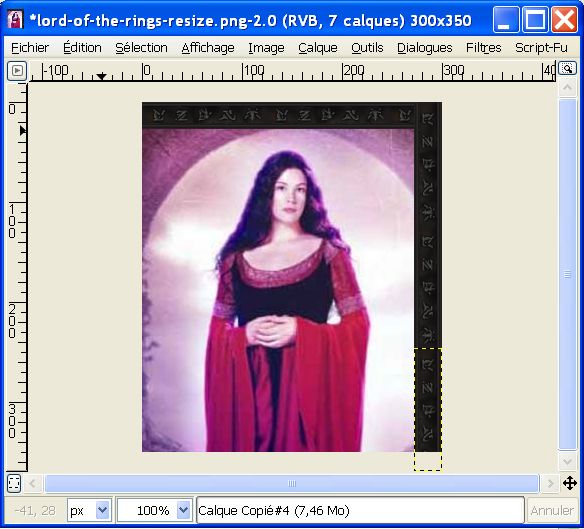
 Sticking the parts of the border
Since we're starting from only a part of the border, be prepared to do many copy-pastes and some rotations. We'll start with the top of the image. Open your boder as a new layer
(window of the image > File > Open as Layers) and position it in the top-left corner, using the Move Tool. Don't hesitate to Zoom in to make sure you fit it right.

Then, make sure that you're on the Border layer, and do
Edit > Copy, followed by
Edit > Paste. Position this copy next to the original part of the border, ensuring that both pieces are aligned. Do not ancer it, instead put it as a new layer
(Layers > New Layer).
Depending on the width of your image, two pieces may be enough, but if it's for a banner, you will have to repeat this operation seveal times over to fill the image's width, and each time, putting them as new layers, we'll merge them later.
Once the top is finished, paste a new part, but this time, rotate it 90° clockwise
(Layer > Transform > Rotate 90° clockwise). Position it on the top-right corner and make it a new layer. Redo
Edit > Copy on this part, then
Edit > Paste for the next pieces. This way, you only have to do the rotation only once.
Continue like this on both the other sides, so as to make a border which we will then enhance later.
Here's my result after framing the image:
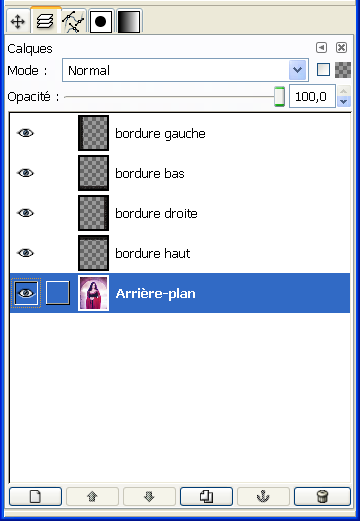
You can now merge the layers of each side together. To this, disactivate all your layers except the ones of the side (ex: ontop) that you want to merge, by clicking on the eye next to the layers in your layers tab.
Then, do
right-click on one of the visible layers > Merge Visible Layers or otherwise y can do
Layer > Merge Visible Layers. In the merge dialogue keep all values unedited so as not to crop pieces off accidentally. Do this for each side.
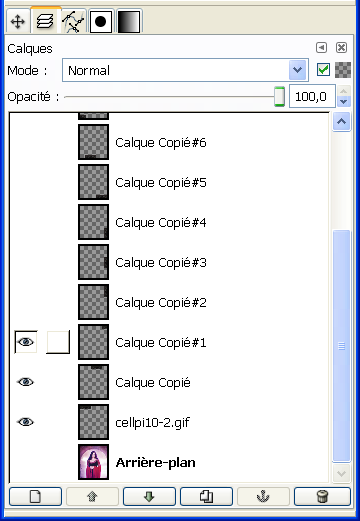
Here's what it should look like in your Layer tab:
 Enhancing
Seen as our border contains symbols that could eventually bother when stuck together, we're going to have to reposition them and use the Clone Tool.
Reposition your parts so as that at a junction, it falls in between two symbols like this:
Do this for all sides.
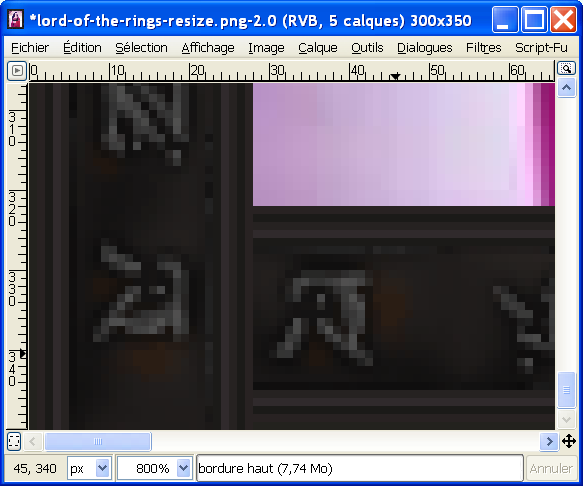
Now, we'll need to remove the symbols that are going to bother us using the Clone Tool.
Select it in the tool box.
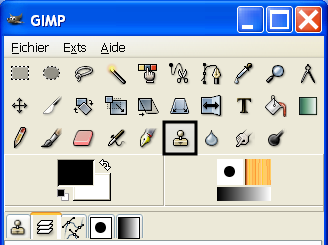
Then choose a small fuzzy brush (Fuzzy 5X5 or 3X3)
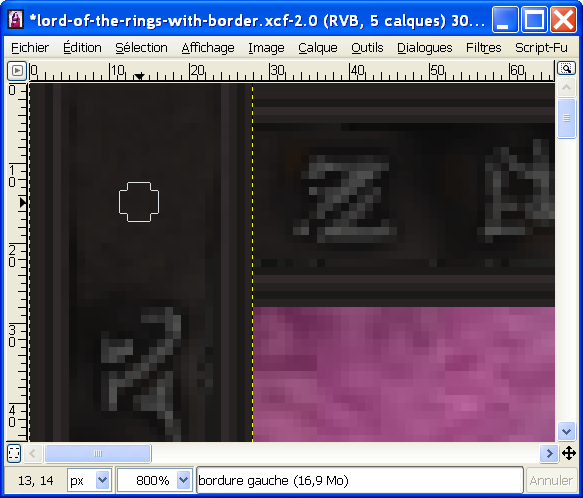
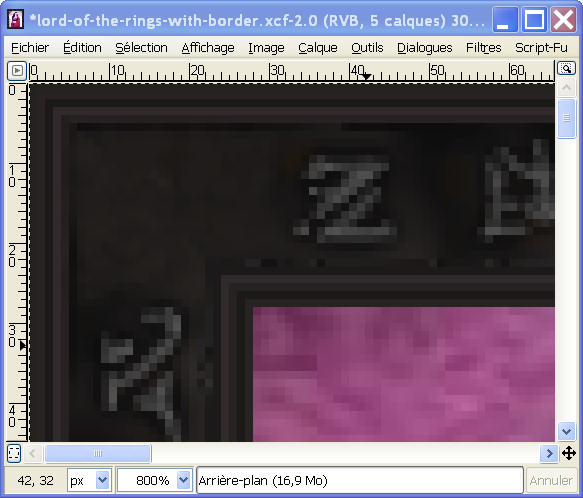
Now, go to your image, and zoom to 800% and start with the upmost layer, which should be the left border. Using Ctrl+clic, select an aread between two symbols and then, go over the symbol a few times until it doesn't show anymore.
Once the top part done, do the bottom part, selecting a new zone in between the symbols. Do the same with both sides, don't forget to make invisible top layers where necessary so as you can see your work

Once your eight bits are done, make all your layers visible.
It's starting to look good, but we still need to edit one more thing to make it a proper border and not just an bunch of parts. For this, we're going to have to select and remove the bits in extra.
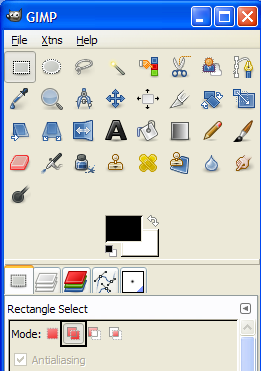
Still on 800%, take the Rectangular Selection Tool, an in the options, choose "Add to the current Selectioin".
Still on your image, start yet again with the upmost layer (with the left border), with the top corner. You will have to do a selection as follows so as that the borders join in the corners. To do this, you'll need several selections.
Here's what your selection is supposed to look like:

Once completed, erase the bit selected
(Edit > Clear).
This is what it gives:
Do this again for each of the other three corners, being careful that you're on the correct layer.
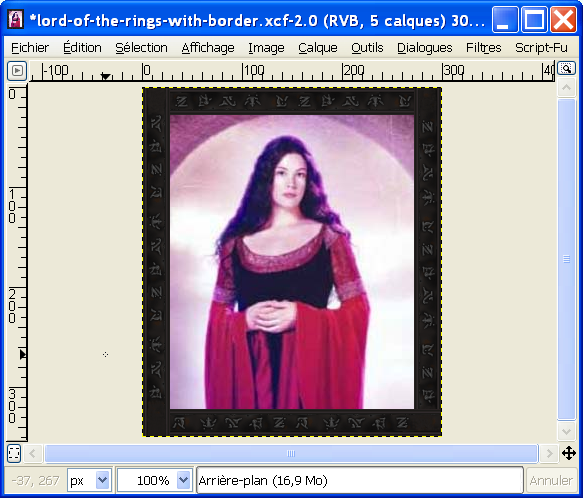
Here's the final result:
Note : Depending on the border used, some can be more difficult to work with because of variations of the coloring on the edges or in the middle, which could cause breaks when it's incorrectly positioned or badly edited.
Written By Ishimaru Chiaki
Translated by Blood 


 - Fav links :

