Welcome, you're not connected. ( Log in - Register )

Les commandes sont pour le moment fermées jusqu'à nouvel ordre, mais je peux assurer le support.

Merci de votre compréhension.


Requests are currently closed, but I can do some support.

Thanks for your understanding.


Important links - Liens importants

Règles - Rules | Présentez-vous - Introduce yourself | Problème d'inscription ? - Registration problem ?

Ishimaru-Design > Tutorials, ressources and support > Graphics softwares > Tutorials - GIMP > [GIMP] Rounded corners on thin borders - Tip

RSS >  [GIMP] Rounded corners on thin borders - Tip
Ishimaru Chiaki #1 12/06/2008 - 23h46

Class : ID Admin
Posts : 1437
Registered on : 12/11/2007
Age : 28
Sex : Female

Offline Mail Www

This tutorial is based on a version 2.2.17.  Some features might be located differently if you are using a version 2.4 or 2.6

If you already made buttons and icons with rounded corners with GIMP and put a 1 pixel border, you have probably noticed that the rounded parts of the border seem thicker than straight parts ?

An example :

Posted Image

This problem is more apparent with thin borders.

I will show you a tip to avoid this problem, so you will have a result like this :

Posted Image


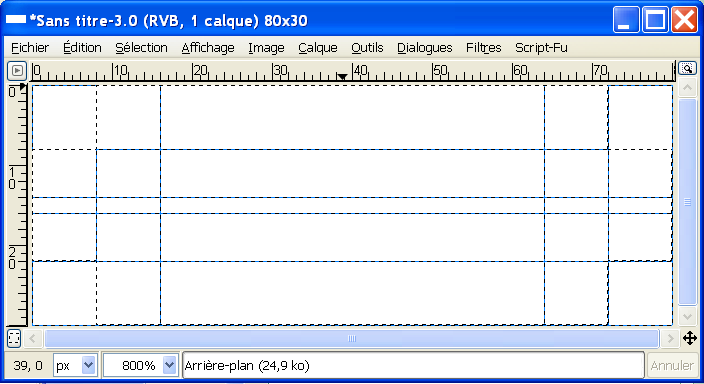
1- First of all, create a new 80*30 document (it's sufficient for the demo) with white background.

Here is our new document :

Posted Image

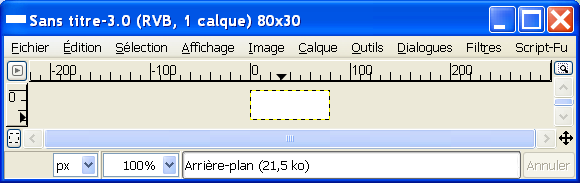
Zoom it at 800% so we'll be at ease to work.

Posted Image

For our technique, we'll need a combination of two rectangle selections and four elliptic selections.  For this, we'll have to use guides for our circles.

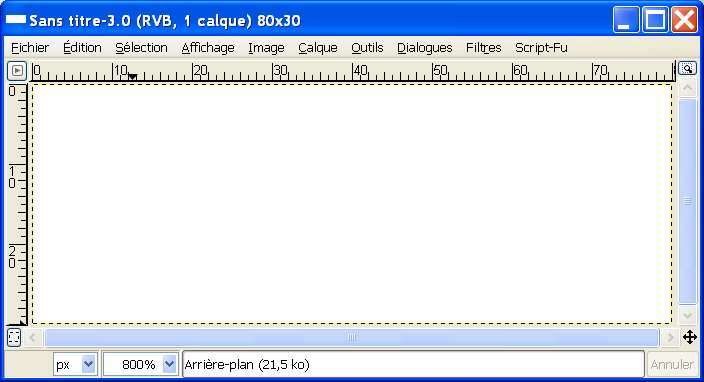
For the demo, I decide that our circles' radius will be 8px long.  Set six horizontal guides at 0, 8, 16, 30, 22 and 14, and six vertical guides at 0, 8, 16, 80, 72 and 64.

You should have this :

Posted Image

(note : to have a better view, I disabled the layer boders' display.)

Now, take the Rectangle select tool, select "Add to the current selection" (image) in the tool options, then make two seletions like this :

Posted Image

Now, take your elliptic selection, again with "Add to the current selection" in the tool options, then make a first circle starting from the 0,0 coordinates to 16,16, like this :

Posted Image

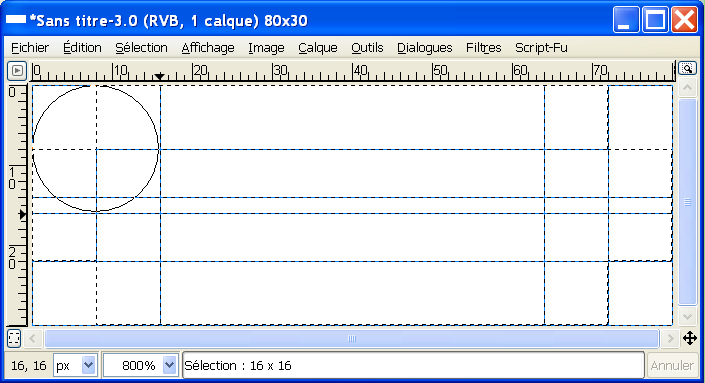
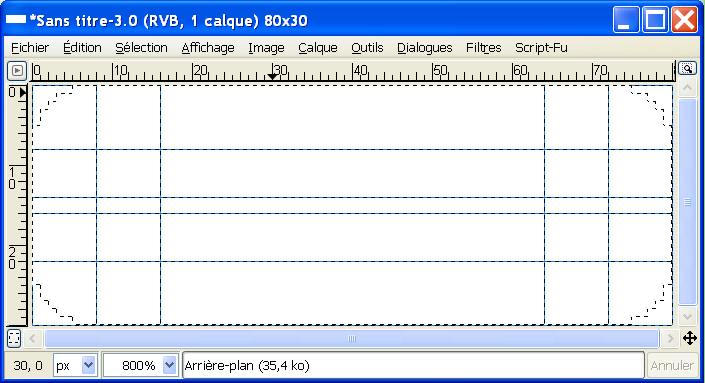
Do the same with the 3 other corners.  Now you should have this :
Posted Image

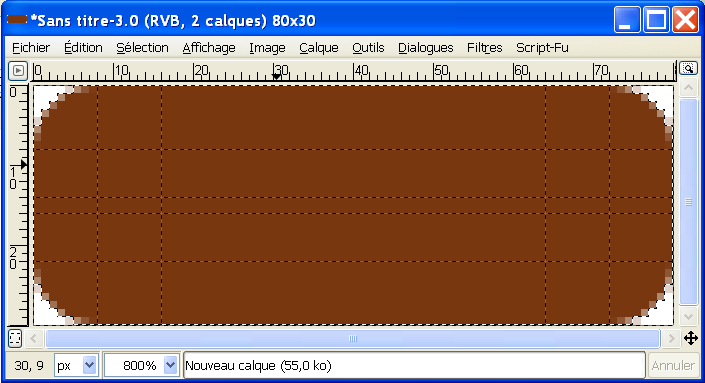
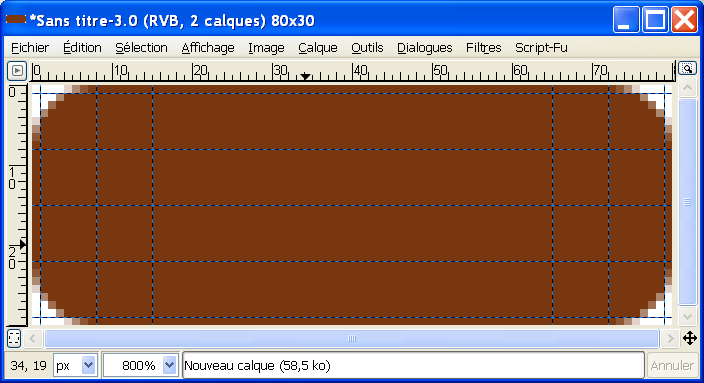
Create a new transparent layer and fill the background with a dark color (ex: maroon).

Posted Image

Disable your selection and create a new transparent layer.

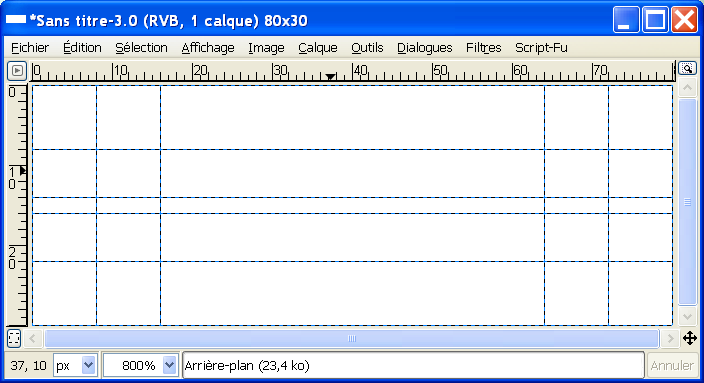
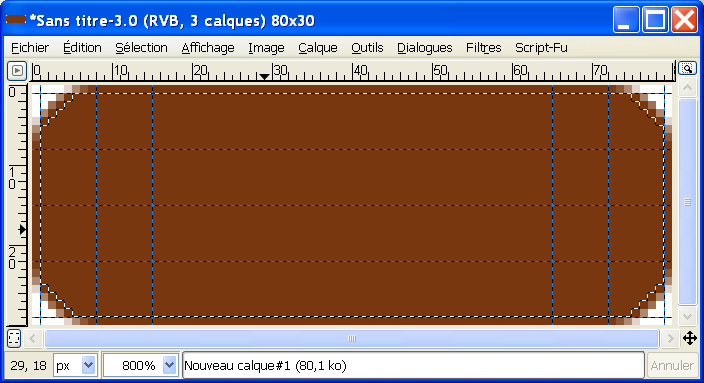
Now, we'll make the inner selection.  For this, we'll move the guides who've been used for our circles' borders, in order to shrink the radius.  In the horizontal guides, move 1 pixel down the 0 and 14 guides, move 1px up the 16 and 30 guides.  For the vertical ones, move 1px right the 0 and 64 guides, and move 1px left the 16 and 80 guides.  You should have this :

Posted Image

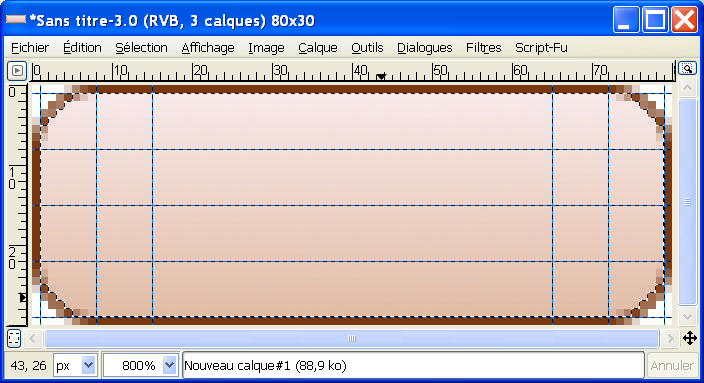
Now, redo the same selections with the rectangle and ellipse selection tool, to obtain this :

Posted Image

Now, fill the new layer with a light color or a slight linear gradient with two light tones, the first should be a little darker than the second :

Posted Image

Disable your selection and the guides' display

Here's the final result with the zoom :

Posted Image

And the real-size result (I enlarged the canva to round the pic with white, to give you a better view) :

Posted Image

The border is nicer, isn't it ? :P
Edited by Ishimaru Chiaki on 12/06/2008 at 23h49.
Kilsek #2 15/01/2009 - 17h38

Class : ID Newbie
Posts : 81
Registered on : 14/12/2007

Offline Mail Www

Great tutorial.  Now if I can just do it!!
Ishimaru Chiaki #3 16/01/2009 - 01h47

Class : ID Admin
Posts : 1437
Registered on : 12/11/2007
Age : 28
Sex : Female

Offline Mail Www

In which step are you stuck ?  And which version are you using ?
aquaglow #4 30/05/2009 - 09h18

Class : ID Newbie
Posts : 3
Registered on : 30/05/2009

Offline

Thank you very much. Previously I was using the "Rounded Rectangle" and then shrinking it by 1 pixel to create the border, but it wasn't very attractive as you say. Your method works much better!
Ishimaru Chiaki #5 30/05/2009 - 20h02

Class : ID Admin
Posts : 1437
Registered on : 12/11/2007
Age : 28
Sex : Female

Offline Mail Www

aquaglow @ 30/05/2009 - 09h18 wrote:

Thank you very much. Previously I was using the "Rounded Rectangle" and then shrinking it by 1 pixel to create the border, but it wasn't very attractive as you say. Your method works much better!


It's really much appreciated, and it would be even more appreciated if you introduce yourself in the appropriate section. :)
aquaglow #6 31/05/2009 - 15h04

Class : ID Newbie
Posts : 3
Registered on : 30/05/2009

Offline

Ishimaru Chiaki @ 31/05/2009 - 02h02 wrote:

It's really much appreciated, and it would be even more appreciated if you introduce yourself in the appropriate section. :)


Certainly :)

 >  Fast reply

Message

Ishimaru-Design > Tutorials, ressources and support > Graphics softwares > Tutorials - GIMP > [GIMP] Rounded corners on thin borders - Tip

 >  Stats

1 user(s) connected during the last 10 minutes (0 member(s) and 1 guest(s)).