This tutorial is based on GIMP 2.6.x version. In this version, all shortcuts are done via the central window.
Hello Gimp users

As Kilsek requested on Forumotion support forum, I make this mini-tutorial on how to make a gradient outline, just like the one in
this header
This is my first tutorial for the 2.6.x version and all screenshots have been taken while under a Ubuntu 8.10 live session since I haven't upgraded my Ubuntu 8.04 yet.
Now let's begin !
First of all, take a dark color as background color. For this, click on square corresponding to the white square on this pic :

Choose also a light color as foreground color (corresponding to the black square in the pic above)
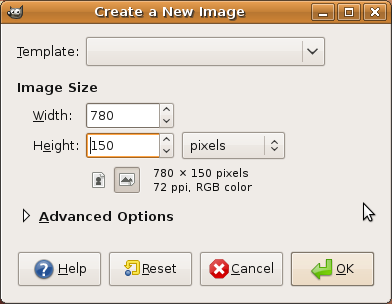
Then create a new document (File > New) and set the dimensions as 780*150 pixels
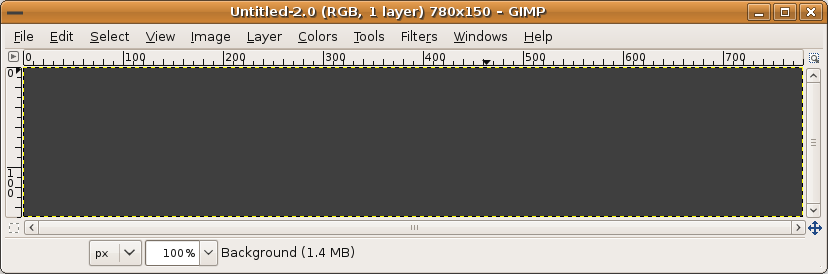
You now have your new document.
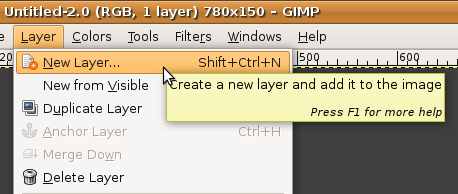
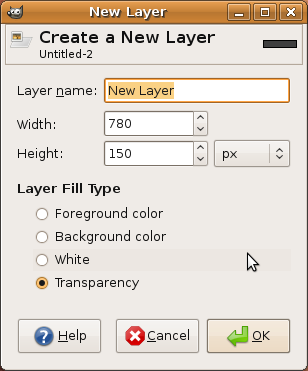
Before we go further, let's make a new transparent layer for this outline, so you can touch it up later if needed. For this : Layer > New Layer
Now, you will need to delimitate your outline 10px from the edges. For this, you will have to use guides. Click on the rulers (top ruler for horizontal, left rules for vertical), then drag your cursor on your pic to make a guide appear. Don't hesitate to zoom, to make sure you position them well.
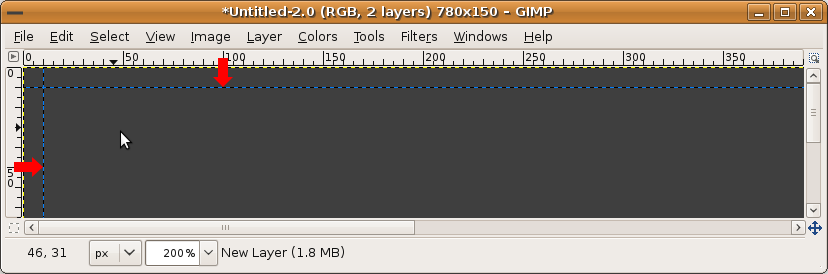
For the gradient outline, you will need two horizontal guides and two vertical guides.
Here's what I've got :

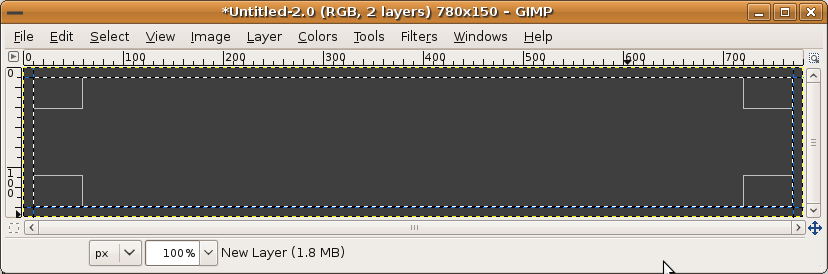
Then take your Rectangle Select Tool

and make your selection using the guides :
We want to make an outline, so we'll border this selection : Select > Border
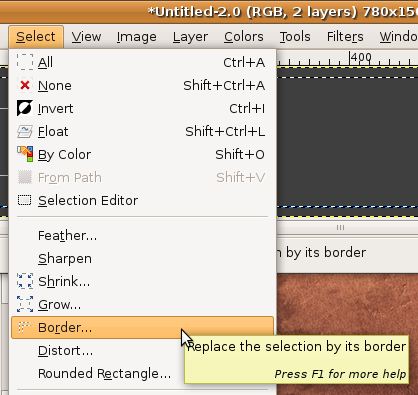
Then set it to 1px
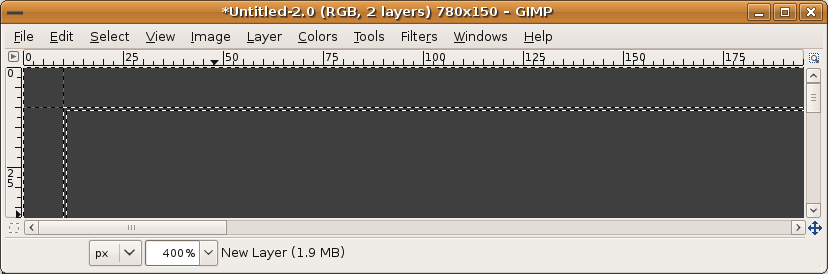
Here's what we've got (400% zoom) :
Now, we're ready to make our gradient outline. For this, we'll use the Blend tool

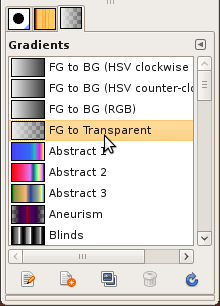
. But we must first set the gradient to
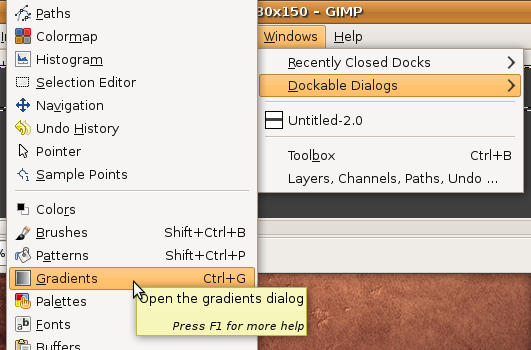
Foreground to transparent. If your gradients tab isn't already open, open it (Windows > Dockable Dialogs > Gradients)
Then choose FG to transparent
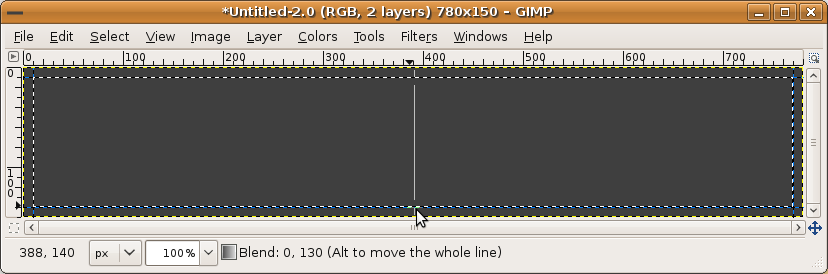
Now you're ready to make your gradient. Place your cursor on top of the selection, then while you keep Ctrl key pressed to have only 15° multiples angles, click and keep the mouse button pressed while you drag your cursor to the bottom, like this :
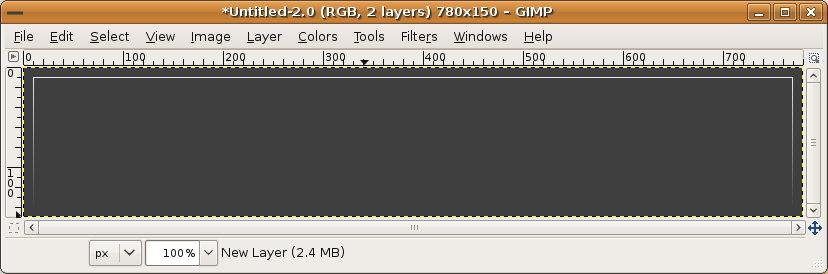
Now, disable your selection (Select > None) and here's what you've got up to now (I hid the guides) :
Now, it's up to you to decorate your header with some texts, a logo and some effects, and even add a navigation bar at the bottom of your header, which will give an even better look.


